Flawless Bob: Master Flat Iron Styling (Easy Steps!)

Achieving a flawless bob often relies on mastering specific styling techniques. The versatility of a bob haircut allows for many looks, and the flat iron becomes your best friend in unlocking that potential. Celebrities like Jenna Ortega frequently showcase beautifully styled bobs, demonstrating the influence of this chic hairstyle. If you've ever wondered how to style a bob haircut with a flat iron for a smooth, polished look, or even a trendy, textured finish like you see in editorial fashion, this guide breaks down the process into easy-to-follow steps. We’ll explore methods that ensure both healthy hair and a stunning style that lasts, no matter your experience level.

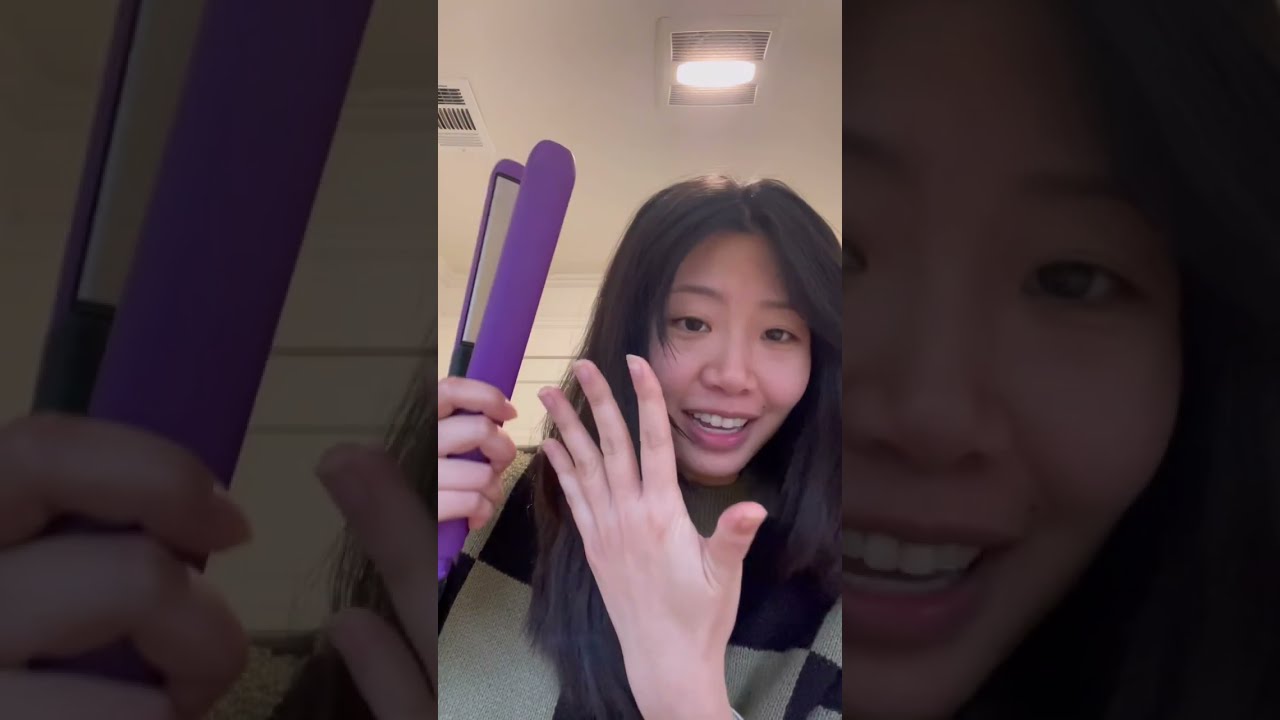
Image taken from the YouTube channel Fit Mission Makeup Jocelyn McClellan , from the video titled Styling Short Hair | Using a Flat Iron .
The bob haircut: a timeless classic, a chameleon of style, and an enduring symbol of chic. From its revolutionary beginnings to its modern-day iterations, the bob has consistently proven its staying power.
But what makes the bob so universally appealing? It's the perfect balance of sophistication and manageability, a cut that can be both effortlessly cool and impeccably polished.
The beauty of the bob lies in its versatility. It's a blank canvas ready to be transformed, and with the right tools and techniques, you can unlock a myriad of styles right in the comfort of your own home.
The Bob: A Cut Above the Rest
The bob haircut isn't just a trend; it's a statement. Its simple yet striking silhouette has graced runways, red carpets, and everyday life for generations.
It transcends age, face shape, and personal style. Whether you favor a blunt, chin-length bob or a longer, layered version, there's a bob out there for everyone.
Flat Iron Magic: Your Style Secret Weapon
The flat iron is your key to unlocking the full potential of your bob. This styling tool can transform your bob from sleek and straight to wavy and textured, or even add a touch of playful bend.
Don't be intimidated! Achieving salon-worthy results at home is not only possible but also easier than you think. With a little practice and the right guidance, you'll be a bob-styling pro in no time.
Angle is Everything
There's a secret ingredient to mastering the perfect bob style: angle. The angle at which you hold your flat iron can dramatically alter the final look, influencing everything from volume to curl definition.
Whether you're aiming for a subtle curve or a more pronounced wave, understanding the power of angle is crucial. It's the difference between a good bob and a great bob. Prepare to delve into the specifics of angle and technique and discover how they can revolutionize your at-home styling game!
The beauty of the bob lies in its versatility. It's a blank canvas ready to be transformed, and with the right tools and techniques, you can unlock a myriad of styles right in the comfort of your own home. Now, before you even think about reaching for that flat iron, let's talk about laying the groundwork for success. Properly preparing your hair is absolutely crucial, and it sets the stage for a flawless style that lasts.
Preparing for Success: Protecting and Prepping Your Hair
Think of prepping your hair as priming a canvas before painting. It’s an essential step that not only safeguards your strands but also ensures a smoother, more polished final look. Skipping this stage is like building a house on a shaky foundation, and it could lead to lackluster results or, worse, hair damage.
The Importance of Heat Protectant
Using heat on your hair without protection is like sunbathing without sunscreen. It's a risk you simply shouldn't take. Heat protectant is non-negotiable when using a flat iron, or any hot styling tool, for that matter.
Why Heat Protectant is Essential
Flat irons can reach incredibly high temperatures, and this heat can strip your hair of its natural moisture, leading to dryness, breakage, and split ends. Heat protectant acts as a barrier, shielding your strands from the direct impact of the heat and minimizing potential damage.
Choosing the Right Heat Protectant
The market offers a plethora of heat protectant products, from sprays to serums and creams. Sprays are generally lightweight and ideal for finer hair types, while serums and creams offer more intense protection and are better suited for thicker, coarser hair.
Look for products that contain ingredients like silicones, which help to create a protective coating, or natural oils like argan or coconut oil, which provide added moisture. Some popular and effective options include Moroccanoil Heat Styling Protection, CHI 44 Iron Guard, and Tresemmé Thermal Creations Heat Tamer Spray.
Application is Key
Applying heat protectant correctly is just as important as using it. Start by spraying or applying a small amount of product to your palm. Then, distribute it evenly throughout your hair, focusing on the mid-lengths and ends, which are most prone to damage. Use a comb to ensure that the product is thoroughly distributed from root to tip.
Make sure your hair is damp, but not soaking wet, before applying the heat protectant. This will allow the product to penetrate the hair shaft more effectively. Also, don’t oversaturate your hair, as this can weigh it down and make it difficult to style.
Essential Tools for a Smooth Styling Experience
While a flat iron is the star of the show, a few supporting tools can make all the difference in achieving a smooth and professional-looking bob. Having these essentials on hand will not only streamline the styling process but also help you achieve more precise and polished results.
Sectioning Clips: Your Hair's Best Friend
Sectioning clips are your secret weapon for keeping your hair organized and manageable during styling. By dividing your hair into smaller, more manageable sections, you can ensure that each strand receives adequate attention from the flat iron, resulting in a more even and consistent style.
Choose clips that are sturdy and have a good grip to prevent slippage. Duckbill clips or alligator clips are excellent options. Start by sectioning your hair at the nape of your neck and working your way up, clipping away each section as you go.
The Precision of a Fine-Tooth Comb
A fine-tooth comb is essential for achieving precision when styling your bob. It allows you to detangle your hair, create clean and even sections, and smooth out any flyaways before running the flat iron through each section.
Choose a comb with fine, closely spaced teeth for optimal control. Run the comb through each section of hair before styling to ensure that it's smooth and free of knots or tangles. This will help the flat iron glide effortlessly through your hair, resulting in a sleek and polished finish.
The preliminary work is done; your hair is prepped and protected. Now, it’s time to dive into the heart of the matter – mastering the flat iron technique to bring your bob haircut to life. With the right approach and a little practice, you’ll be amazed at the transformation you can achieve.
Step-by-Step: Mastering the Flat Iron Technique for Your Bob
This is where the magic happens. This section breaks down the entire flat ironing process, from the initial sectioning and temperature adjustments to the actual styling and techniques for creating volume and movement.
Setting Up for Styling: Sectioning and Temperature Control
Proper setup is paramount. It ensures that you work efficiently and protect your hair from unnecessary heat exposure.
Sectioning for Success
Sectioning your bob correctly is like organizing your thoughts before writing an essay; it brings clarity and order to the process. Use your sectioning clips to divide your hair into manageable layers, typically starting at the nape of your neck.
The number of sections will depend on the thickness of your hair, but generally, 2-3 horizontal sections will suffice.
-
Thick hair: requires smaller, thinner sections for even heat distribution.
-
Fine hair: can be styled in larger sections.
Clip the upper sections out of the way, ensuring they don't interfere with the section you're currently styling. Clean, well-defined sections lead to a more even and polished final result.
Temperature Control: Finding Your Hair's Sweet Spot
Temperature control is crucial for preventing heat damage. Your flat iron isn’t a one-size-fits-all tool. You need to adjust the temperature to suit your specific hair type and texture.
Start with a lower temperature setting and gradually increase it until you achieve the desired results. Remember, it’s always better to err on the side of caution.
-
Fine or damaged hair: should be styled at lower temperatures (below 300°F or 150°C).
-
Normal or healthy hair: can typically handle mid-range temperatures (300-375°F or 150-190°C).
-
Thick or coarse hair: may require higher temperatures (375-400°F or 190-205°C), but proceed with caution.
Always test the temperature on a small, inconspicuous section of hair first to assess its impact before styling your entire head.
Straightening and Styling with the Flat Iron: The Core Technique
Now that your hair is sectioned and your flat iron is heated to the appropriate temperature, it's time to begin the styling process.
The Angle of Attack: Defining Your Style
The angle at which you hold the flat iron significantly impacts the final look of your bob.
-
For a sleek, straight style: Hold the flat iron horizontally, parallel to the floor, and glide it straight down each section.
-
For a slight curve or bevel: Angle the flat iron slightly inward or outward as you glide it down the hair shaft.
-
To create more volume at the ends: Angle the flat iron upward as you reach the ends of your hair.
Experiment with different angles to discover the styling effect you prefer. Remember, a slight change in angle can make a big difference.
The Glide: Smooth and Even Heat Distribution
The key to achieving a smooth and polished style is to glide the flat iron down each section in a continuous, even motion.
Avoid stopping or pausing mid-shaft, as this can create unwanted creases or bends. Apply consistent pressure and speed as you move the flat iron from root to tip.
-
For straight styles: a single, smooth pass may be sufficient.
-
For more textured styles: you may need to repeat the process a few times, adjusting the angle as needed.
Practice Makes Perfect: Honing Your Skills
Don't be discouraged if you don't achieve perfect results on your first try. Practice is essential for mastering the flat iron technique.
Experiment with different angles, temperatures, and speeds to find what works best for your hair type and desired style. The more you practice, the more confident and skilled you'll become.
Achieving Volume and Movement: Adding Dimension to the Style
A flat iron can do more than just straighten hair. It can also be used to create volume, movement, and texture, adding dimension and personality to your bob.
Root Lift: Creating Volume at the Crown
To create volume at the roots, try the following technique:
- Take a small section of hair near the crown of your head.
- Insert the flat iron close to the roots, angling it slightly upward.
- Gently rotate the flat iron 180 degrees away from your face.
- Glide the flat iron a short distance down the hair shaft, stopping before you reach the ends.
This technique will create a subtle lift at the roots, adding volume and bounce to your bob.
Bends and Waves: Adding Dynamic Texture
To add slight bends or waves to your bob, try this:
- Take a small section of hair.
- Clamp the flat iron near the roots.
- Rotate the flat iron slightly inward or outward as you glide it down the hair shaft.
- Alternate the direction of the rotation (inward, then outward) for each section to create a natural-looking wave pattern.
The size and intensity of the waves will depend on the angle and speed of the rotation. Experiment with different techniques to create the look you desire.
Finishing Touches: Locking In Your Style for Lasting Results
You've dedicated time and effort to styling your bob, achieving the perfect sleekness or a touch of effortless wave. Now, it's time to ensure your creation lasts, radiating health and vitality. The finishing touches are more than just afterthoughts; they're the key to elevating your hairstyle from simply styled to truly stunning. These steps are crucial for maintaining the integrity and beauty of your bob throughout the day.
Adding Shine and Smoothness: Taming Frizz, Unleashing Luster
Frizz can be the enemy of a perfectly styled bob. Those stray, unruly strands can diminish the overall polished effect you've worked so hard to create. But fear not! The solution lies in carefully selected hair serums or oils designed to impart shine and smoothness.
The Magic of Hair Serum and Oil
Hair serums and oils work by sealing the hair cuticle, the outermost layer of the hair shaft. When the cuticle is smooth and intact, it reflects light, resulting in a healthy, glossy appearance. Furthermore, these products help to tame frizz by creating a barrier against humidity, a common culprit behind unwanted flyaways.
However, it's crucial to choose the right type of serum or oil for your hair type. Lightweight formulas are ideal for fine hair, preventing it from becoming weighed down and greasy. Thicker oils can be more effective for coarse or dry hair, providing intense hydration and smoothing benefits.
Finding the Perfect Dosage
The key to using hair serum or oil effectively is moderation. Too much product can lead to a heavy, greasy look, which is the opposite of what we're trying to achieve. Start with a small amount, typically a pea-sized drop, and warm it between your palms.
Distribute the product evenly through the lengths and ends of your hair, avoiding the roots. Focus on areas prone to frizz or dryness. Remember, you can always add more if needed, but it's much harder to take away excess product.
A great tip is to apply the serum or oil while your hair is still slightly damp. This allows the product to be absorbed more easily, providing deeper hydration and smoothing benefits.
Securing Your Style: Flexible Hold, Lasting Impression
Once you've achieved the desired shine and smoothness, it's time to lock in your style with hair spray. The goal here isn't to create a stiff, helmet-like effect, but rather to provide a flexible hold that allows for natural movement while preventing your bob from losing its shape.
The Art of Light-Hold Hair Spray
Light-hold hair sprays are your best friend when it comes to maintaining a styled bob. These formulas provide just enough grip to keep your hair in place without sacrificing its bounce and fluidity.
Look for hair sprays that are labeled "flexible hold," "light hold," or "workable hold." These options typically contain less polymer, the ingredient responsible for creating hold, resulting in a softer, more natural finish.
Application Techniques for Optimal Hold
Hold the hair spray approximately 10-12 inches away from your head and apply it in short, even bursts. Avoid spraying too close, as this can create a wet, sticky residue.
Focus on areas where you need the most hold, such as the roots for added volume or the ends to maintain a specific shape. For a more natural look, try spraying the hair spray onto your hands and then gently smoothing it over your hair. This technique allows for a more controlled and even distribution of the product.
Remember to choose hair sprays that are alcohol-free or have a low alcohol content. Alcohol can dry out your hair, leading to frizz and damage. By selecting the right hair spray and applying it correctly, you can enjoy a long-lasting style that looks and feels natural.
Troubleshooting and Tips for Perfect Bob Styling
With the right techniques and tools, achieving a stunning bob is within reach. However, even the most skilled stylists encounter occasional hiccups.
Understanding common mistakes and adopting proactive maintenance strategies can be the difference between a fleeting style and a consistently flawless look. Let's dive into the troubleshooting tips and maintenance essentials to keep your bob looking its best.
Common Mistakes to Avoid: Protecting Your Hair from Damage
Heat styling, while effective, can also be damaging if not approached with caution.
It’s crucial to be aware of the pitfalls that can lead to breakage, dryness, and lackluster locks. Avoid these common mistakes to maintain the health and vitality of your bob.
The Dangers of Excessive Heat
One of the most frequent errors is using excessively high heat settings on your flat iron.
While it might seem like a quicker route to straightness, high temperatures can severely damage the hair's protein structure, leading to brittleness and split ends.
Always start with a lower setting and gradually increase it only if necessary. Your hair will thank you for it.
The Peril of Repeated Passes
Similarly, avoid the temptation to repeatedly pass the flat iron over the same section of hair.
Each pass exposes your hair to more heat, escalating the risk of damage. Aim for a single, smooth glide, using the appropriate temperature and technique to achieve the desired result.
If you find yourself needing to go over a section multiple times, reassess your temperature setting or the tension you're applying with the flat iron.
Maintenance and Care: Keeping Your Bob Looking Its Best
Maintaining a stylish bob isn't just about the styling itself; it also involves proper care and upkeep throughout the day and beyond.
Here are some essential maintenance tips to ensure your bob remains vibrant and well-groomed.
Preserving Your Style Throughout the Day
Once you've achieved your desired style, protecting it from environmental factors is key. Humidity, wind, and even friction from clothing can disrupt your carefully crafted look.
A light mist of hairspray can provide a protective shield without sacrificing movement or creating stiffness.
Quick Touch-Ups for a Polished Look
Throughout the day, you might notice a few strands falling out of place or a slight loss of volume. A quick touch-up with your flat iron can instantly revive your style.
Focus on smoothing any stray hairs or re-creating volume at the roots. Remember to use a low heat setting and avoid over-styling.
The Importance of Regular Trims
Regular trims are non-negotiable for maintaining the shape and health of your bob. Aim to trim your hair every 6-8 weeks to remove split ends and keep the lines sharp and defined.
This not only enhances the overall appearance of your bob but also prevents damage from traveling up the hair shaft.
Video: Flawless Bob: Master Flat Iron Styling (Easy Steps!)
Flawless Bob: Flat Iron Styling FAQs
Here are some frequently asked questions to help you achieve a flawless bob using a flat iron.
What heat setting should I use on my flat iron?
For fine or damaged hair, use a lower heat setting (around 250-300°F). Medium to thick hair can tolerate higher heat (300-375°F). Always start low and increase gradually to prevent damage while you learn how to style a bob haircut with a flat iron.
How do I avoid creating creases in my hair with a flat iron?
Move the flat iron smoothly and continuously down each section of hair. Avoid stopping or clamping down too hard. Consistent motion is key to avoid creases when you learn how to style a bob haircut with a flat iron.
How can I add volume when flat ironing my bob?
Try gently angling the flat iron upwards at the roots as you glide it through your hair. This will create lift and volume. You can also try a texturizing spray after styling for added volume when you learn how to style a bob haircut with a flat iron.
What if my bob is layered? How do I style the shorter layers?
Style the shorter layers first, working your way up to the longer layers. Use a smaller flat iron or be extra careful to avoid burning your scalp. Paying extra attention to detail is key when you learn how to style a bob haircut with a flat iron.